Archival Tool
The archival tool is meant for archiving the data from either MySQL or PostgreSQL databases and store the data in ChistaDATA cluster. This will enable us to use ChistaDATA cluster as analytical data store for the data that is present in the transactional databases. This feature is available in the ChistaDATA cloud for all the users. Let us look at how to set up the archival job and transfer the data to the underlying ChistaDATA cluster.
OLTP Archive Tool
To access the OLTP archival tool, login to the ChistaDATA cloud and choose the cluster. The OLTP section can be found near the settings tab.
Under the OLTP section, we will have two sections named Archive Jobs and Archive sources.
Before we create an archiva job, we need an archival source. Let us go ahead and create a new archival source based on PostgreSQL. The steps to add MySQL source is the same as for PostgreSQL.
Adding a new Archival Source
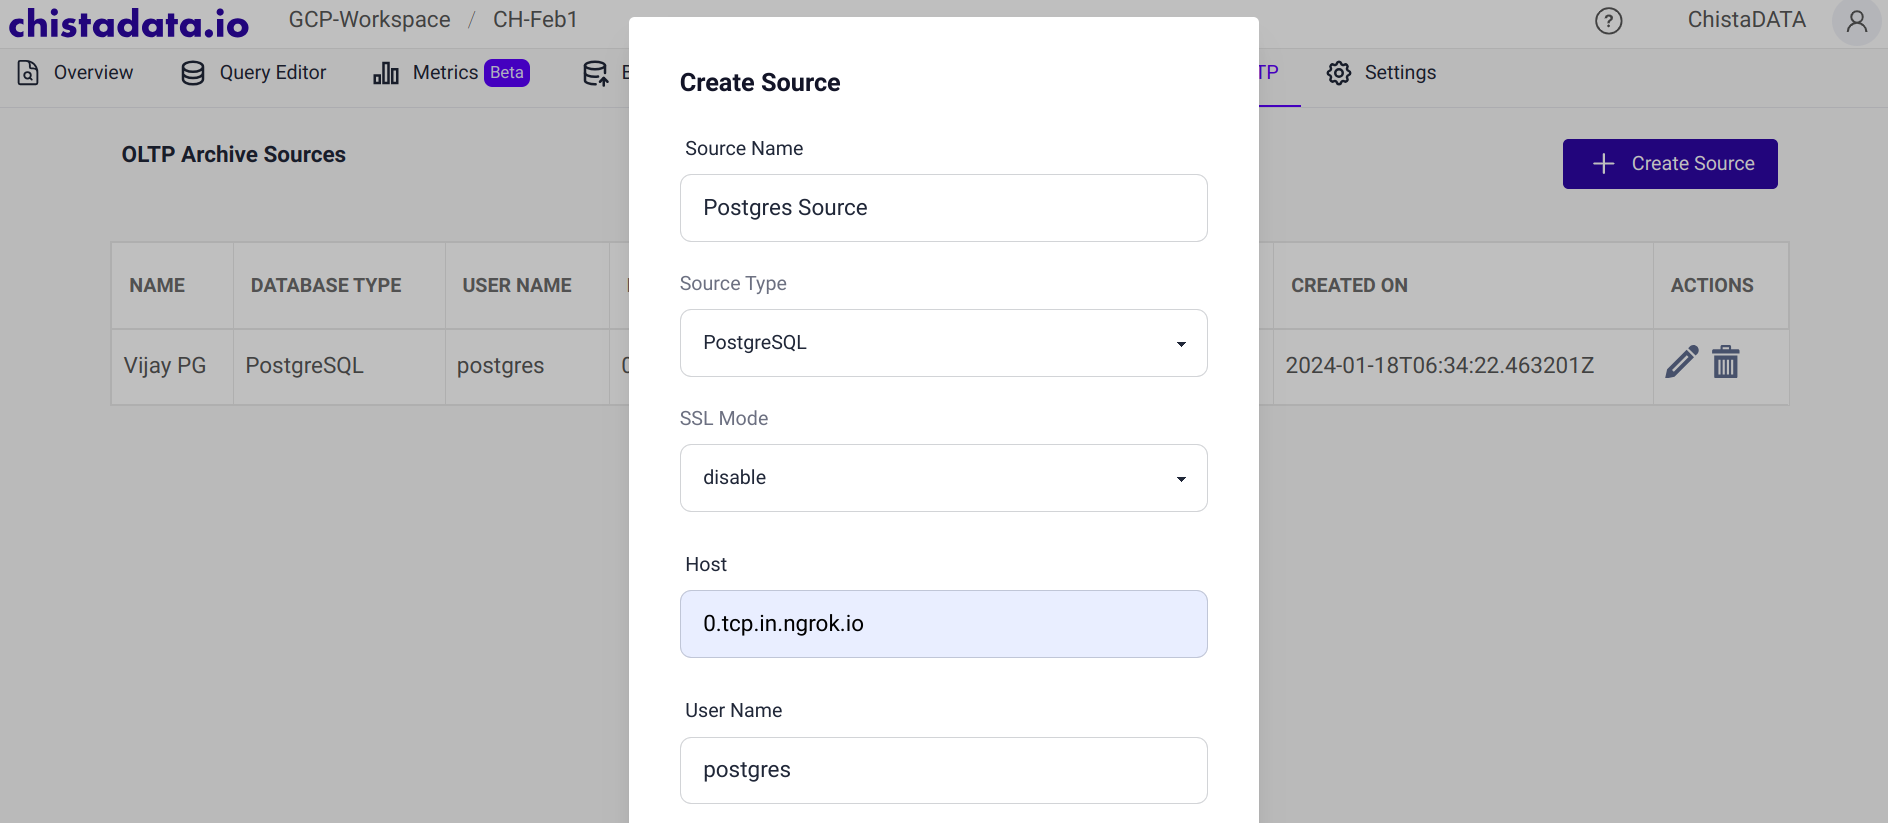
Go to the Archive Sources tab and select the Create Source button. A new pop up appears and we will have to enter the OLTP database server details from which the data will be archived.
Ensure that the IP of the ChistaDATA cluster is whitelisted in the OLTP database server (in case firewall rules are set).
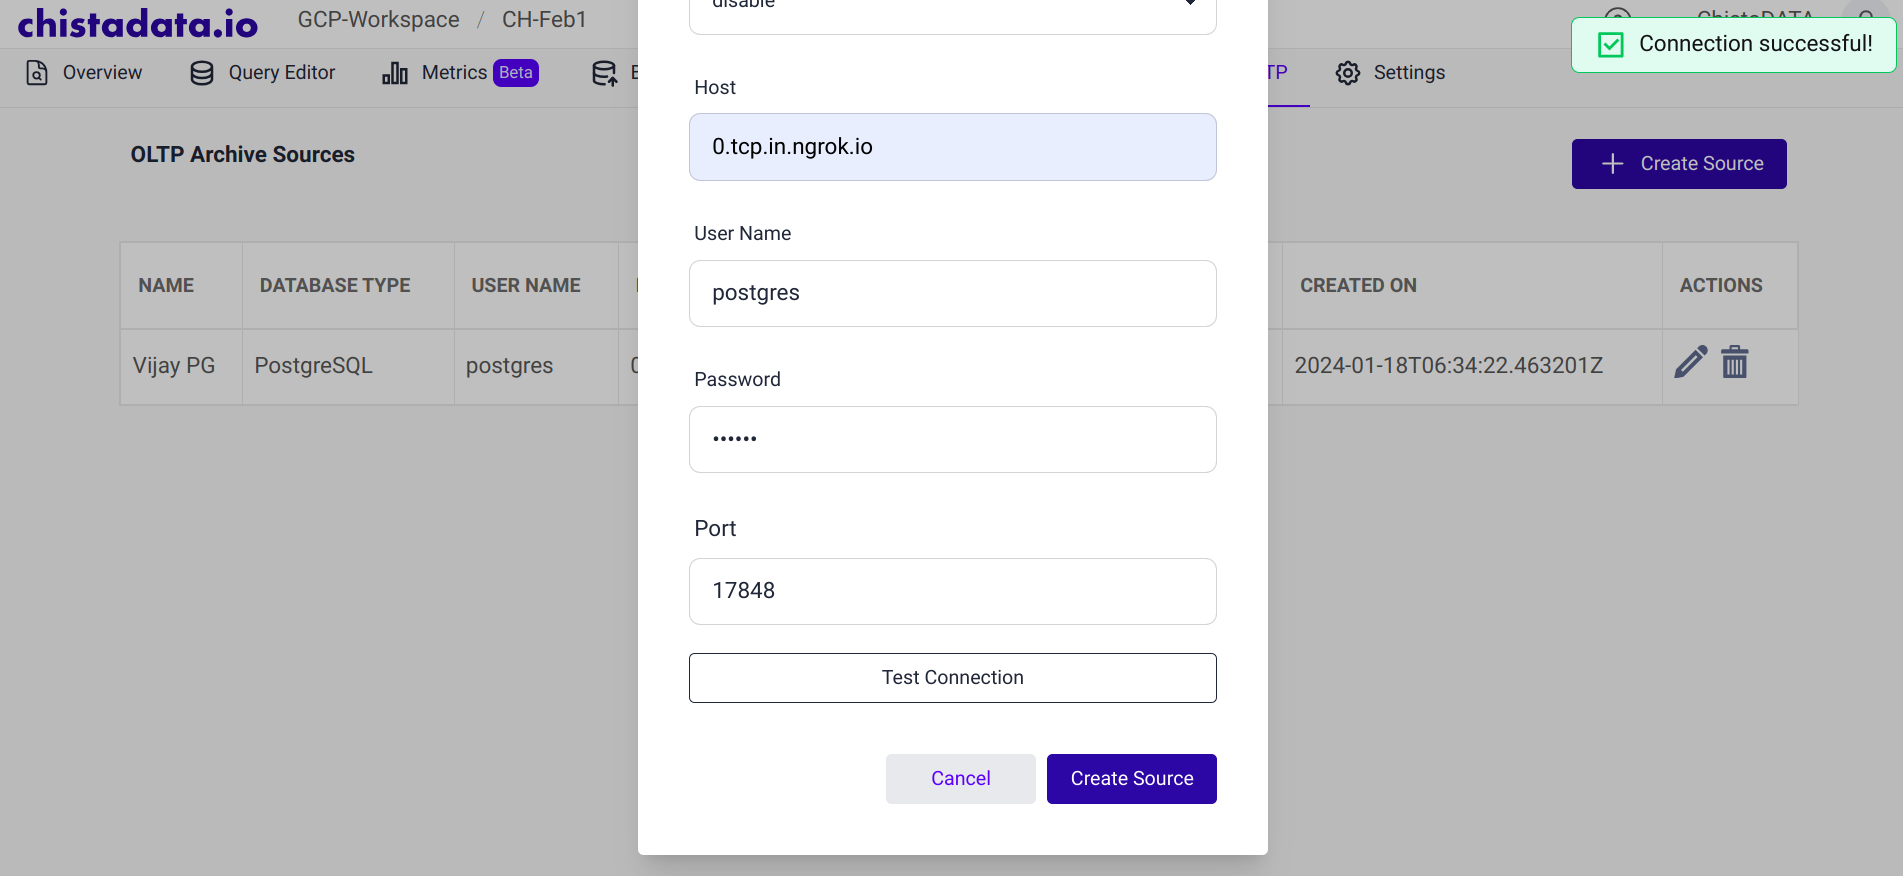
Once the OLTP server details are entered, there will be a Test Connection button at the bottom. Use this to ensure the OLTP database server can be accessed by the ChistaDATA cluster.
Once the connection test is successful, we can go ahead and add the source by selecting the Create Source button. We should be able to see the newly created source in the Archive Source tab now.
Adding a new Archival Job
To create a new Archival job, go to the Archive Job section under OLTP and select the Create Job button.
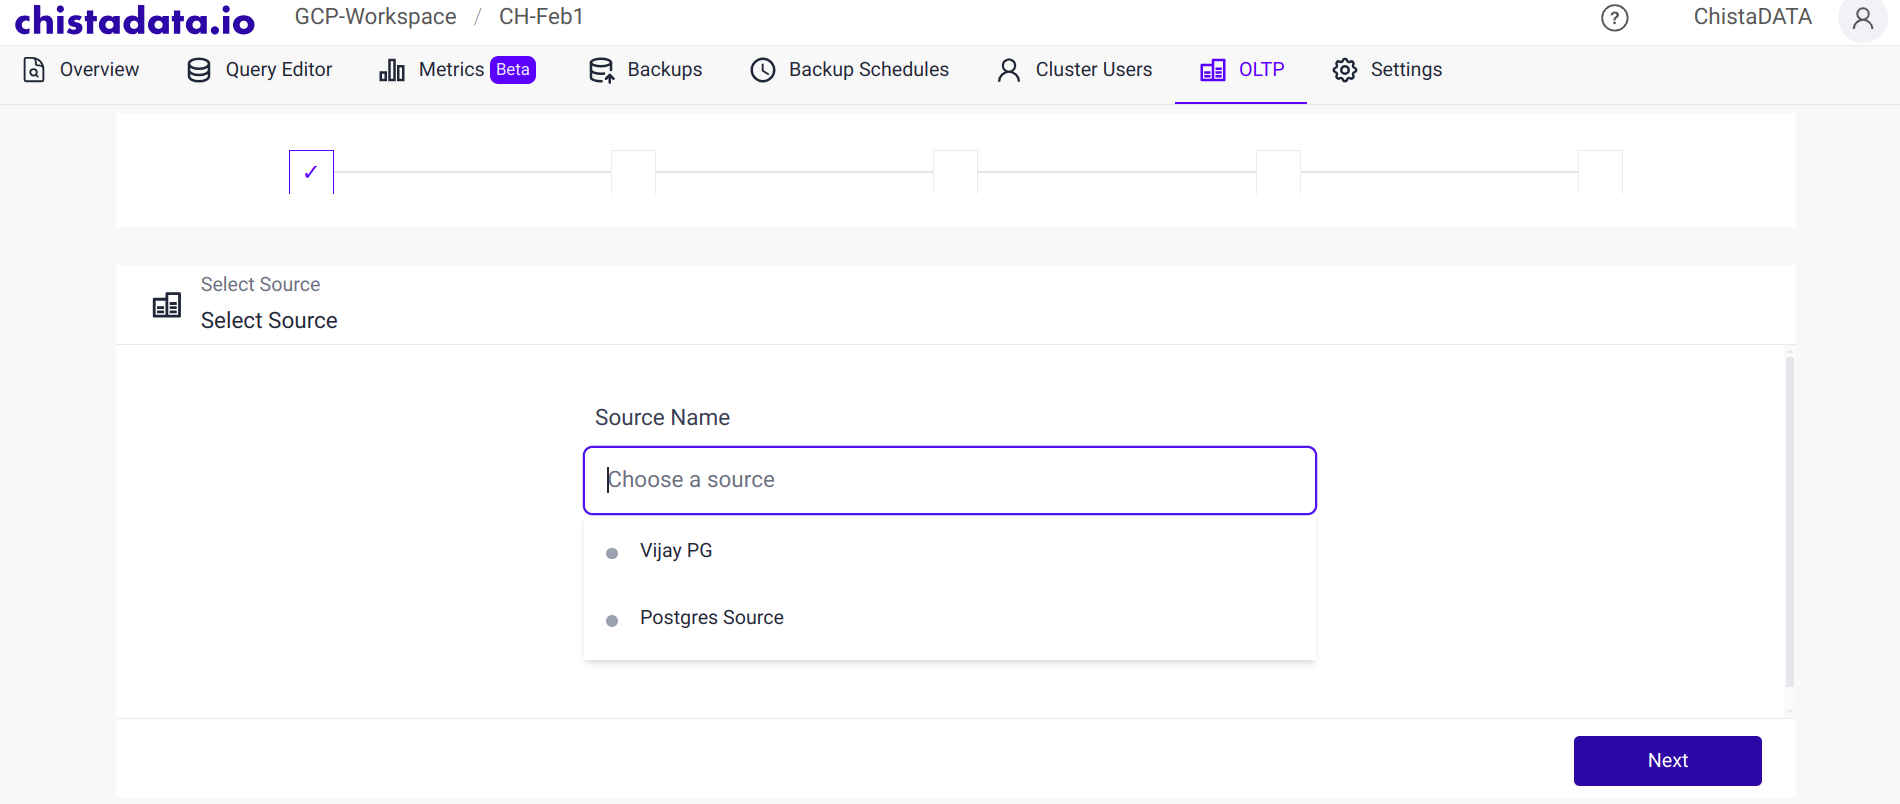
In the next screen, select the data source to be used for the archival job. We will select the recently created data source and hit the Next button.
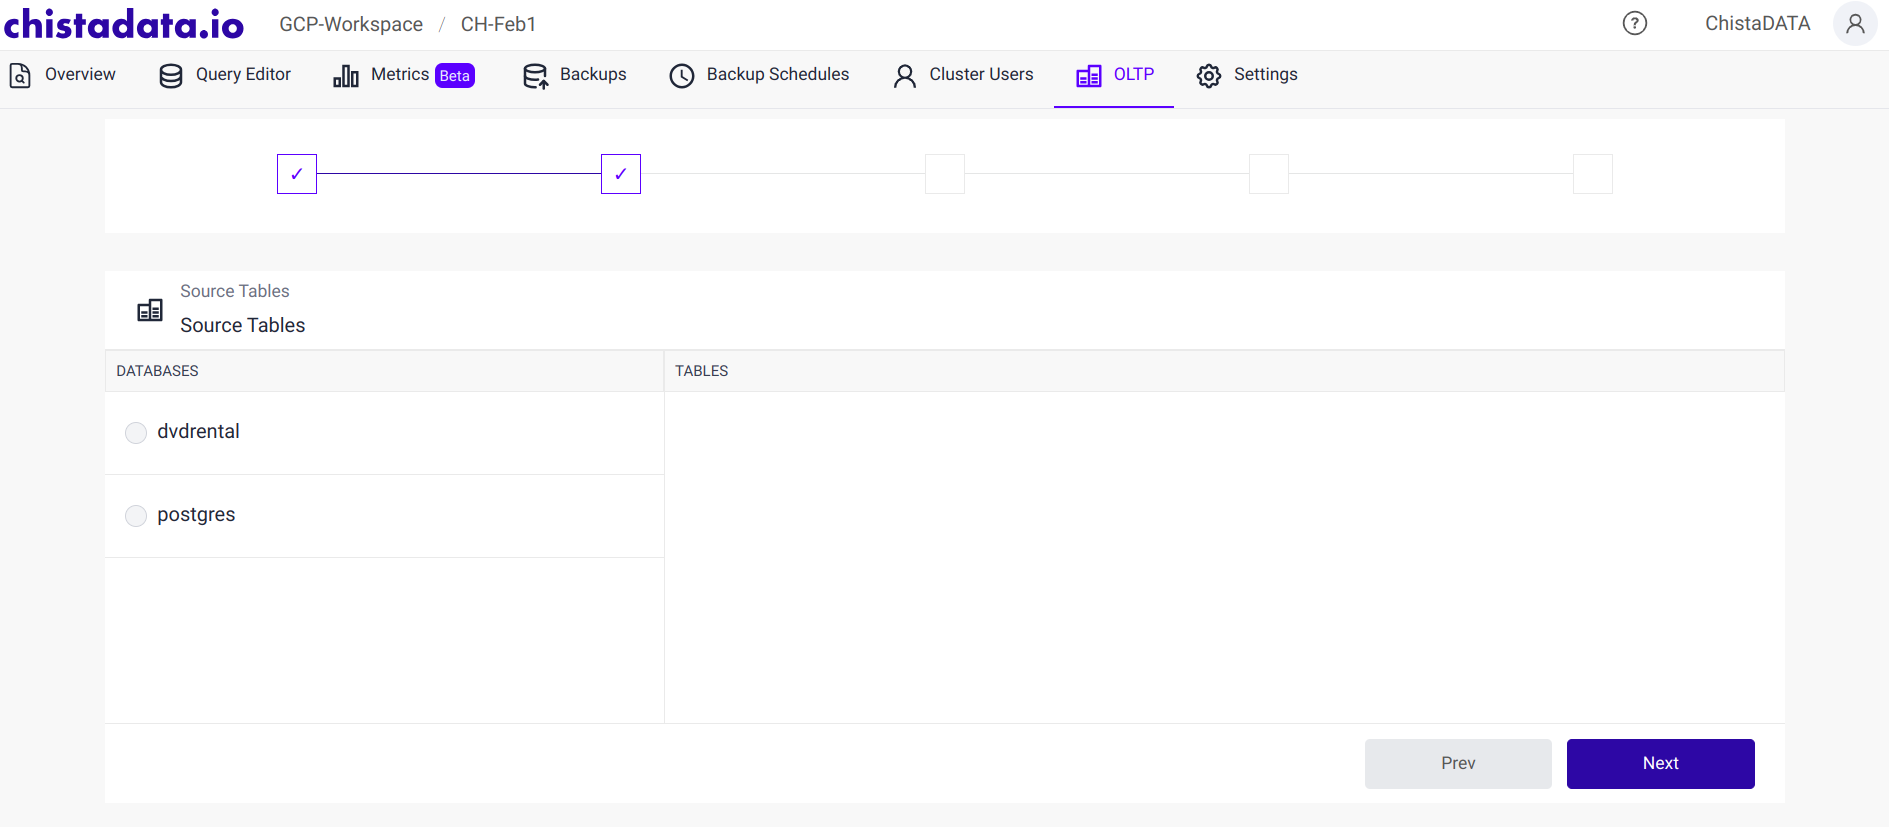
In the next screen, choose the databases that contains the tables to be archived and hit the Next button.
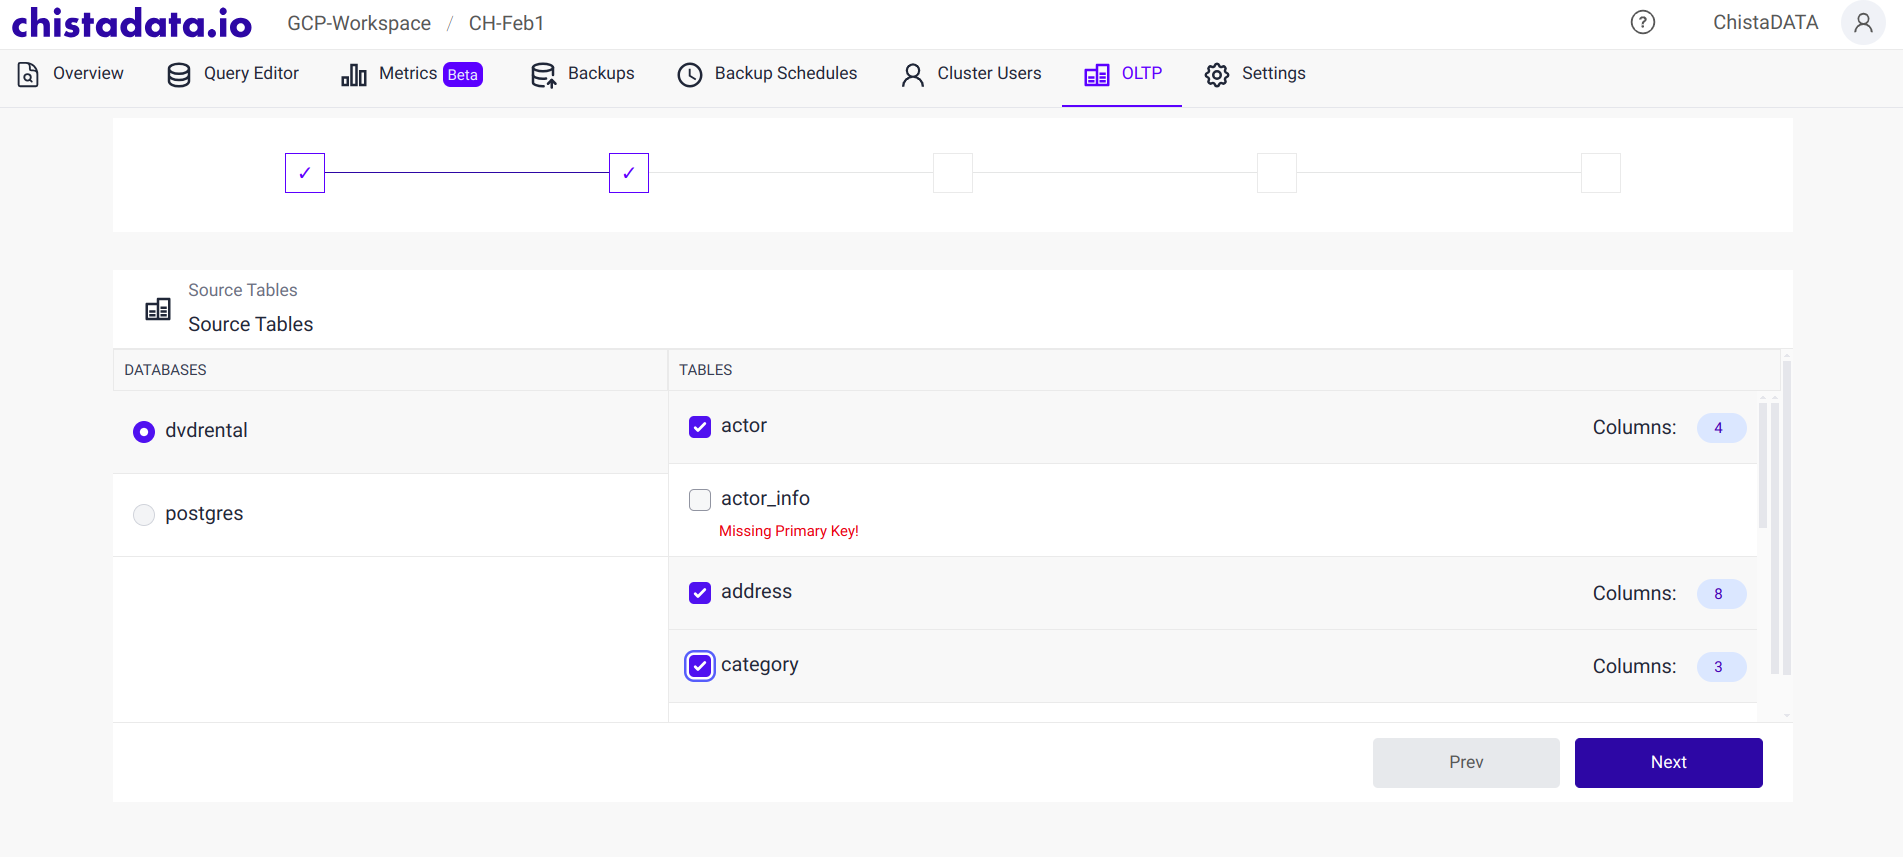
In the next screen, choose the tables that needs to be archived and hit Next. Data present in these tables alone will be considered for the archival.
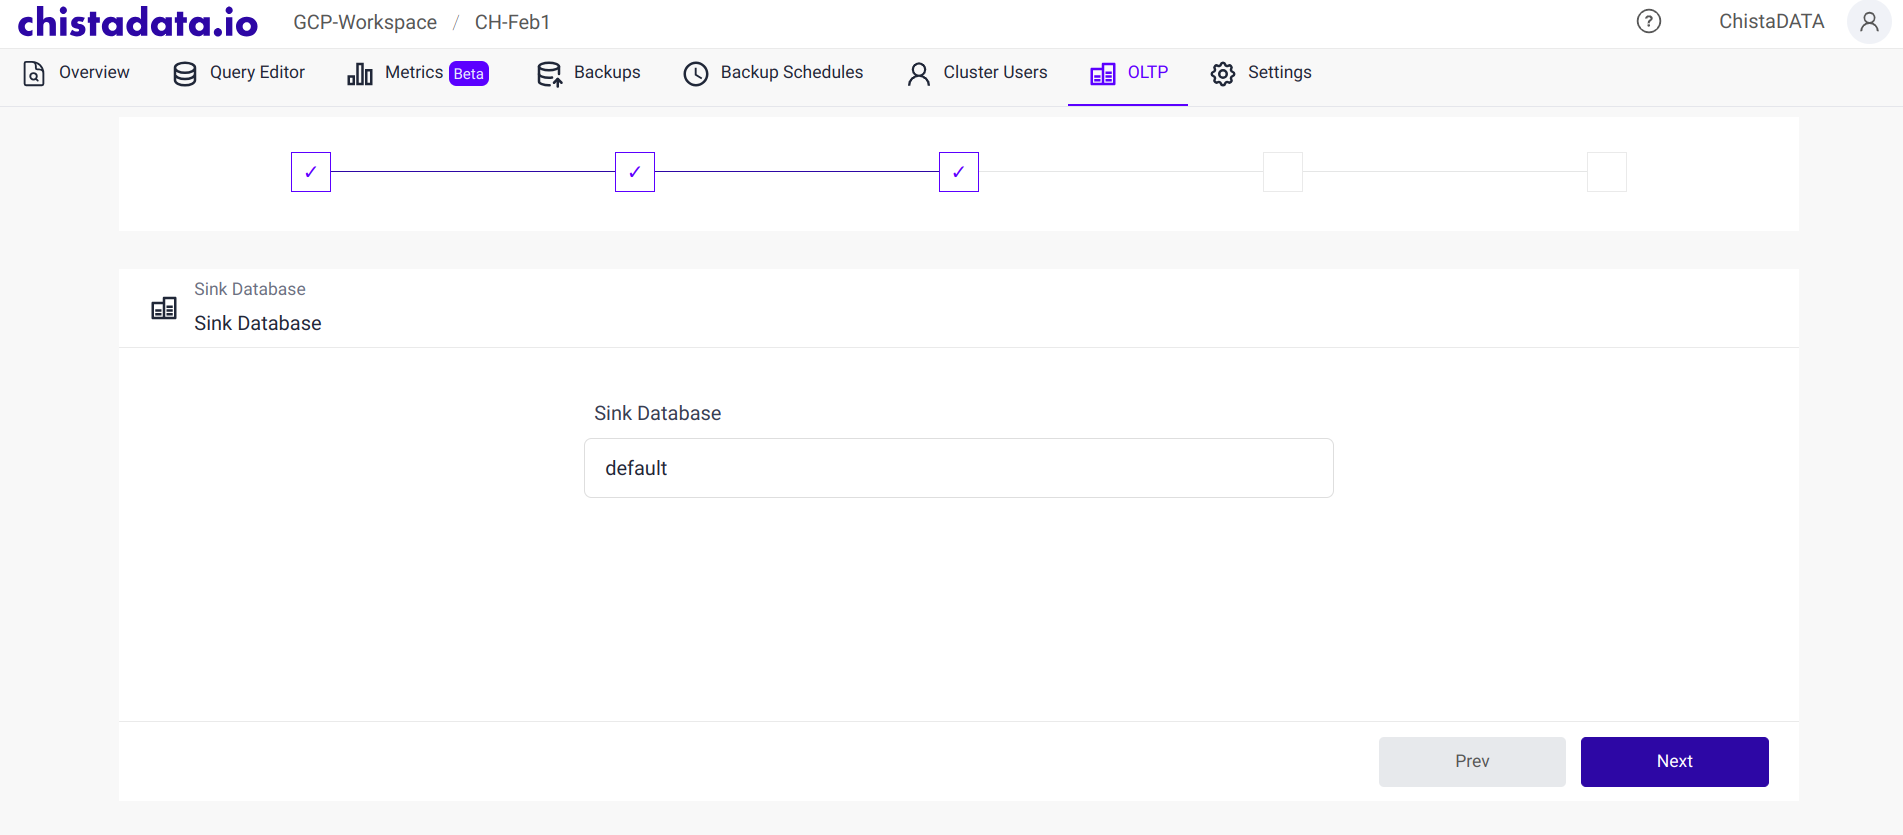
In the next screen, choose the sink database (destination database in ChistaDATA cluster) and proceed. We have chosen the default database in this example, but if the data needs to be archived in any other database, specify the name of the database in the input field and the tool will automatically create the database in the cluster if it doesn’t exist.
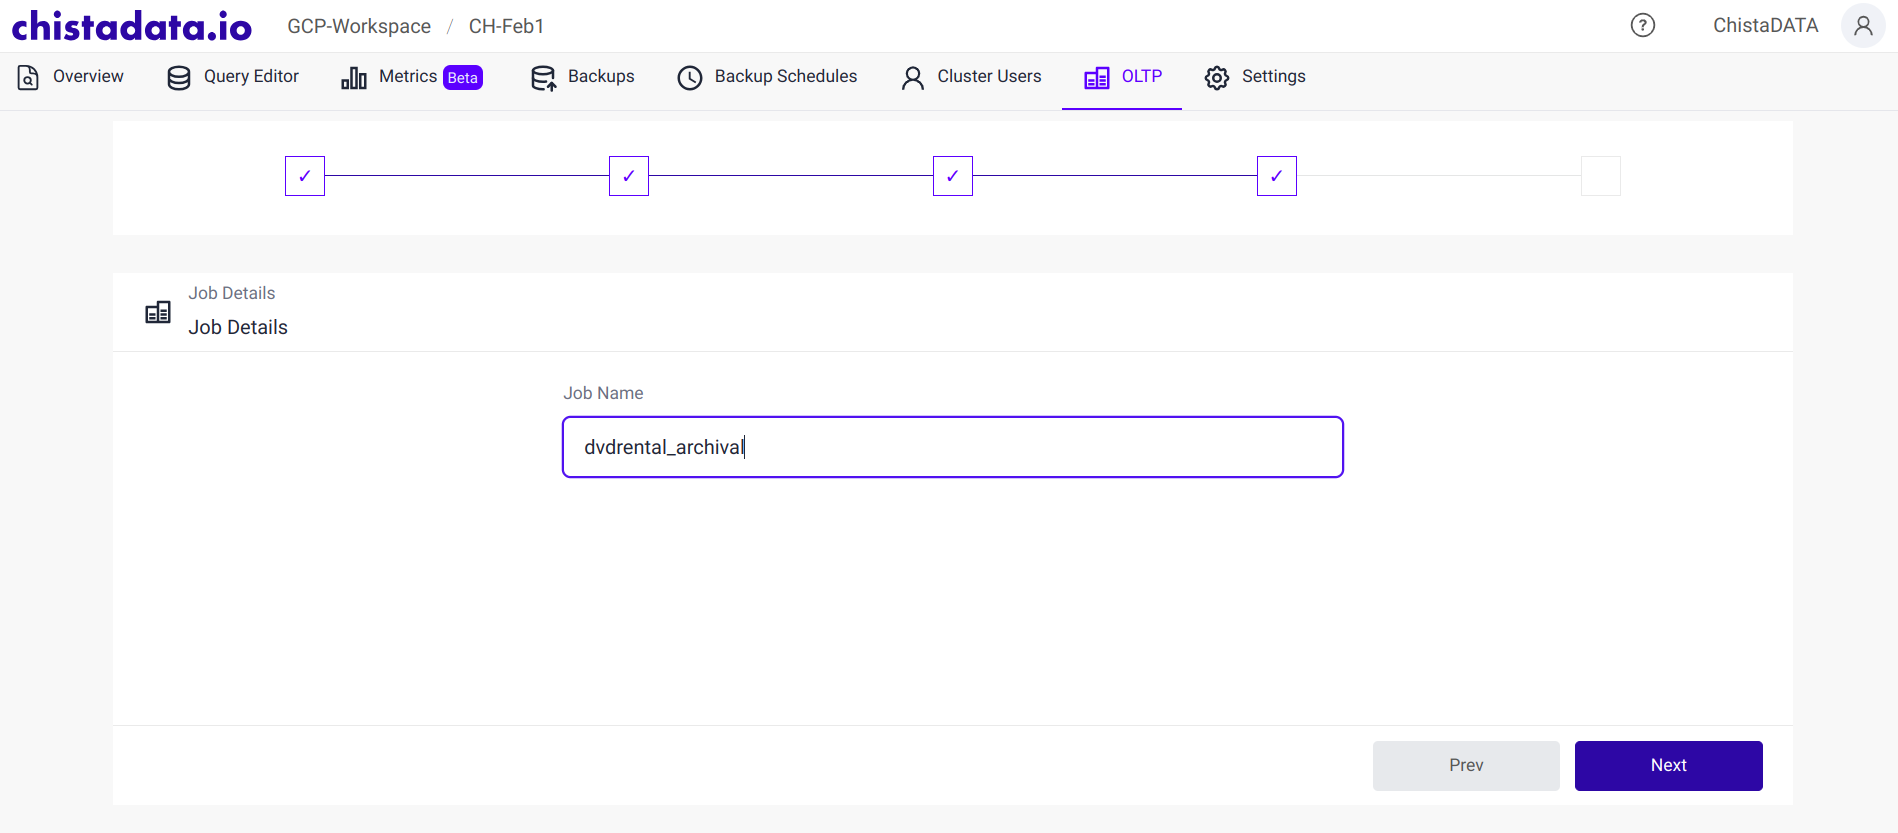
In the next screen, choose a name for the Archival Job. This is based on the user preference.
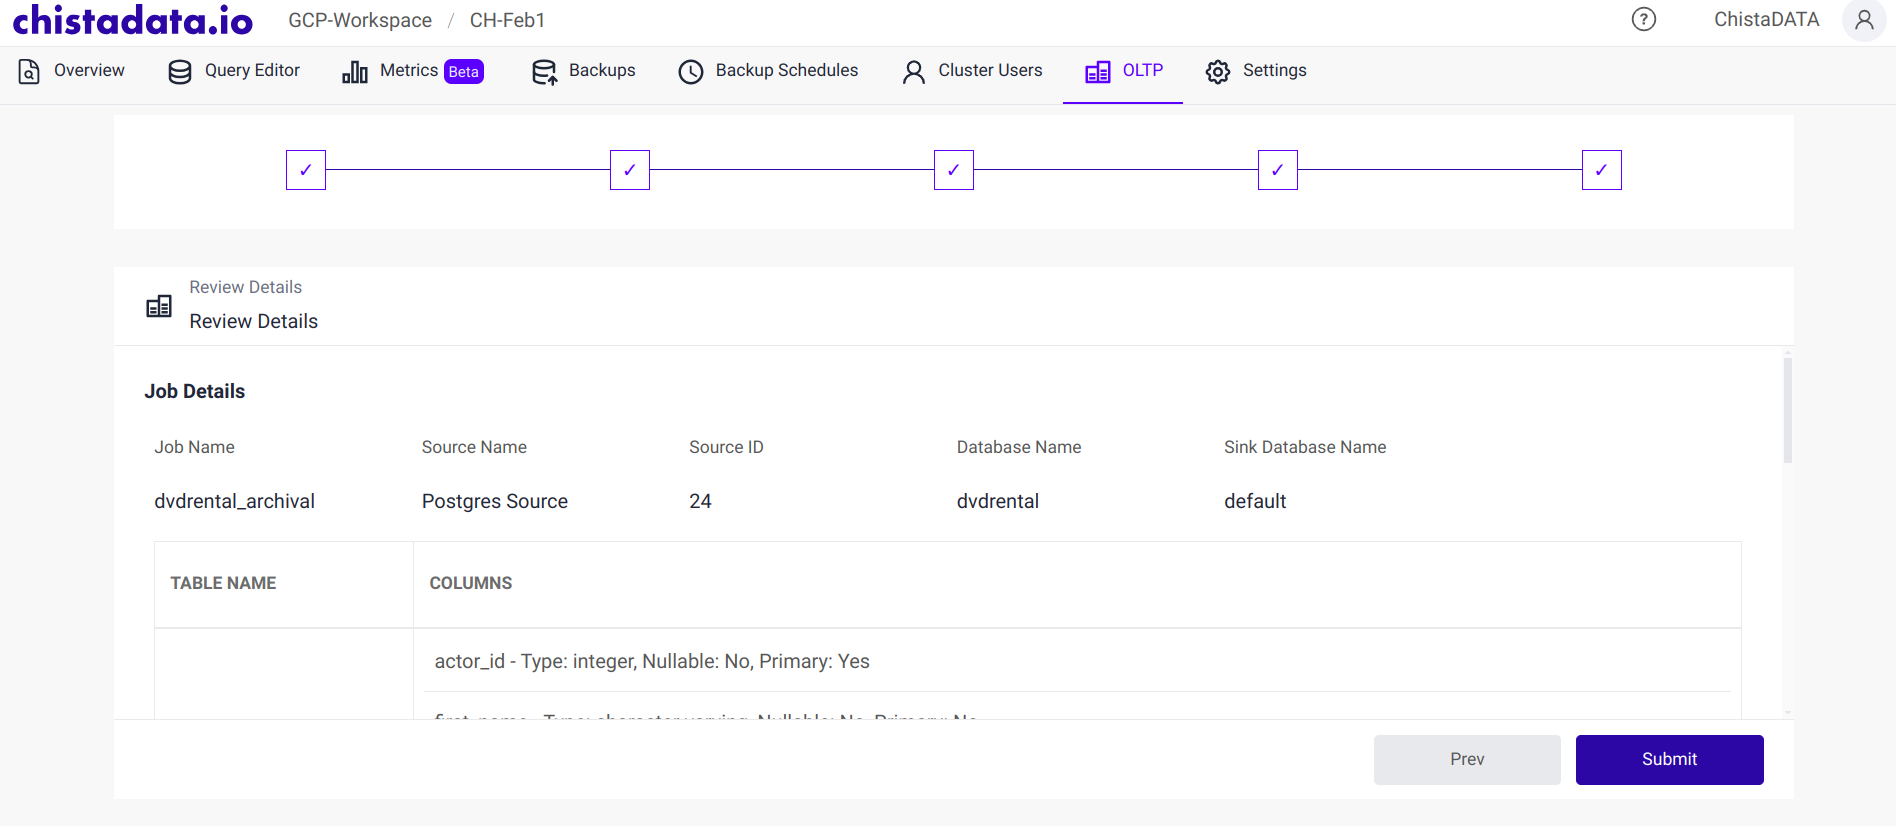
In the next screen, the summary of the Archive Job that is going to be created will be displayed. Review them once before submitting the job.
The new jobs will be created based on the number of tables chosen.
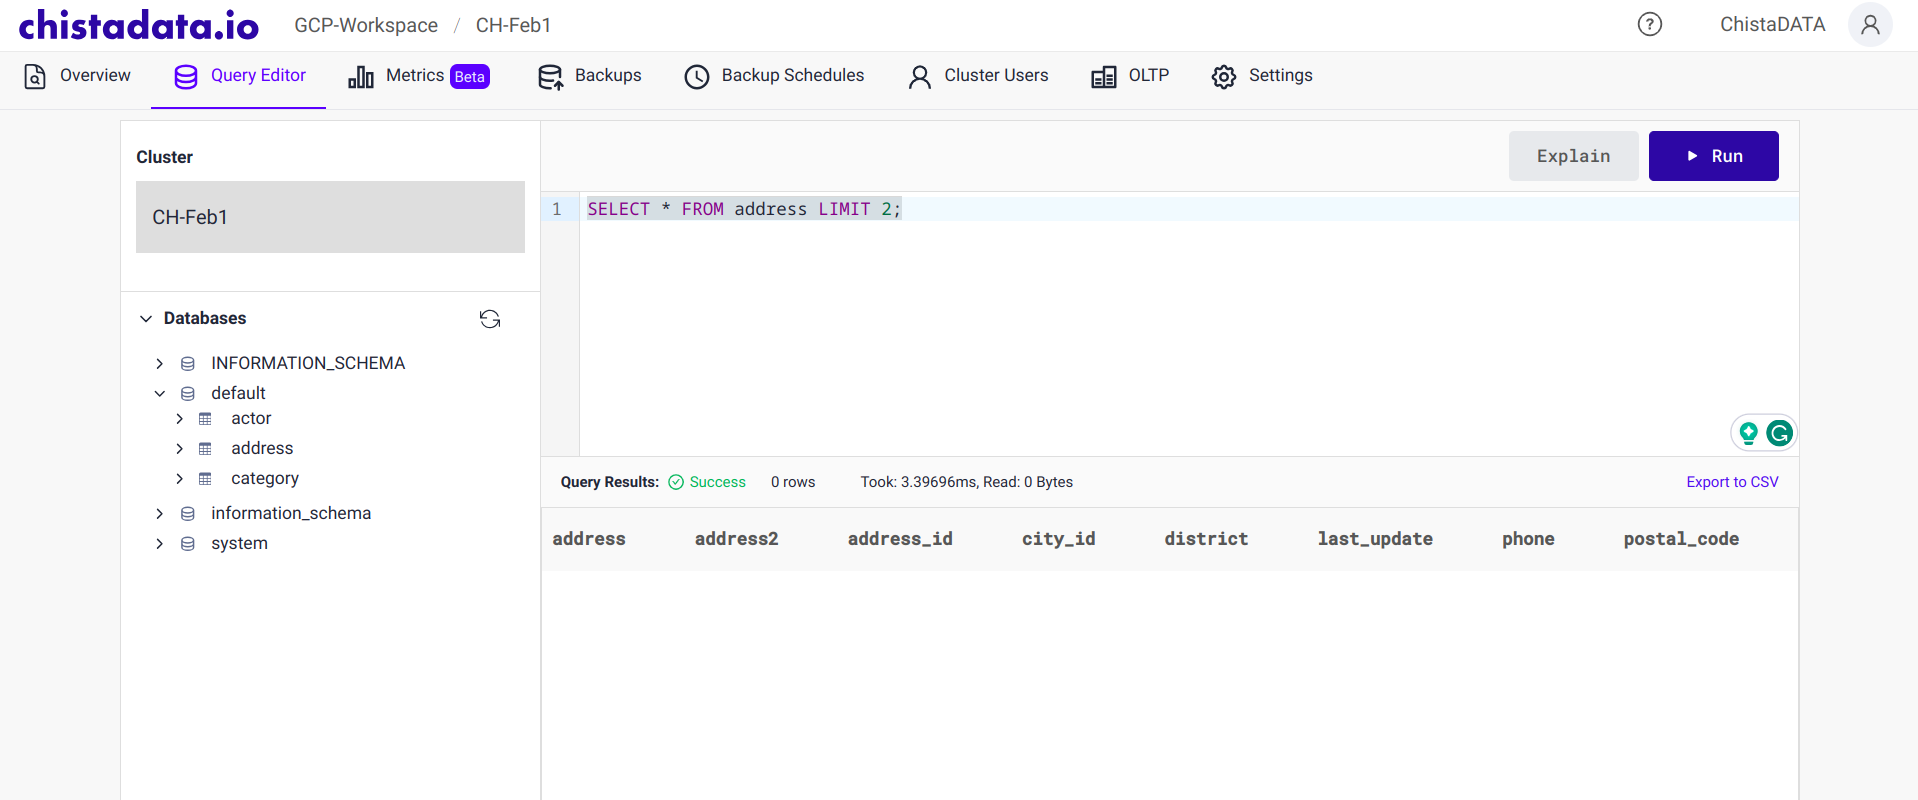
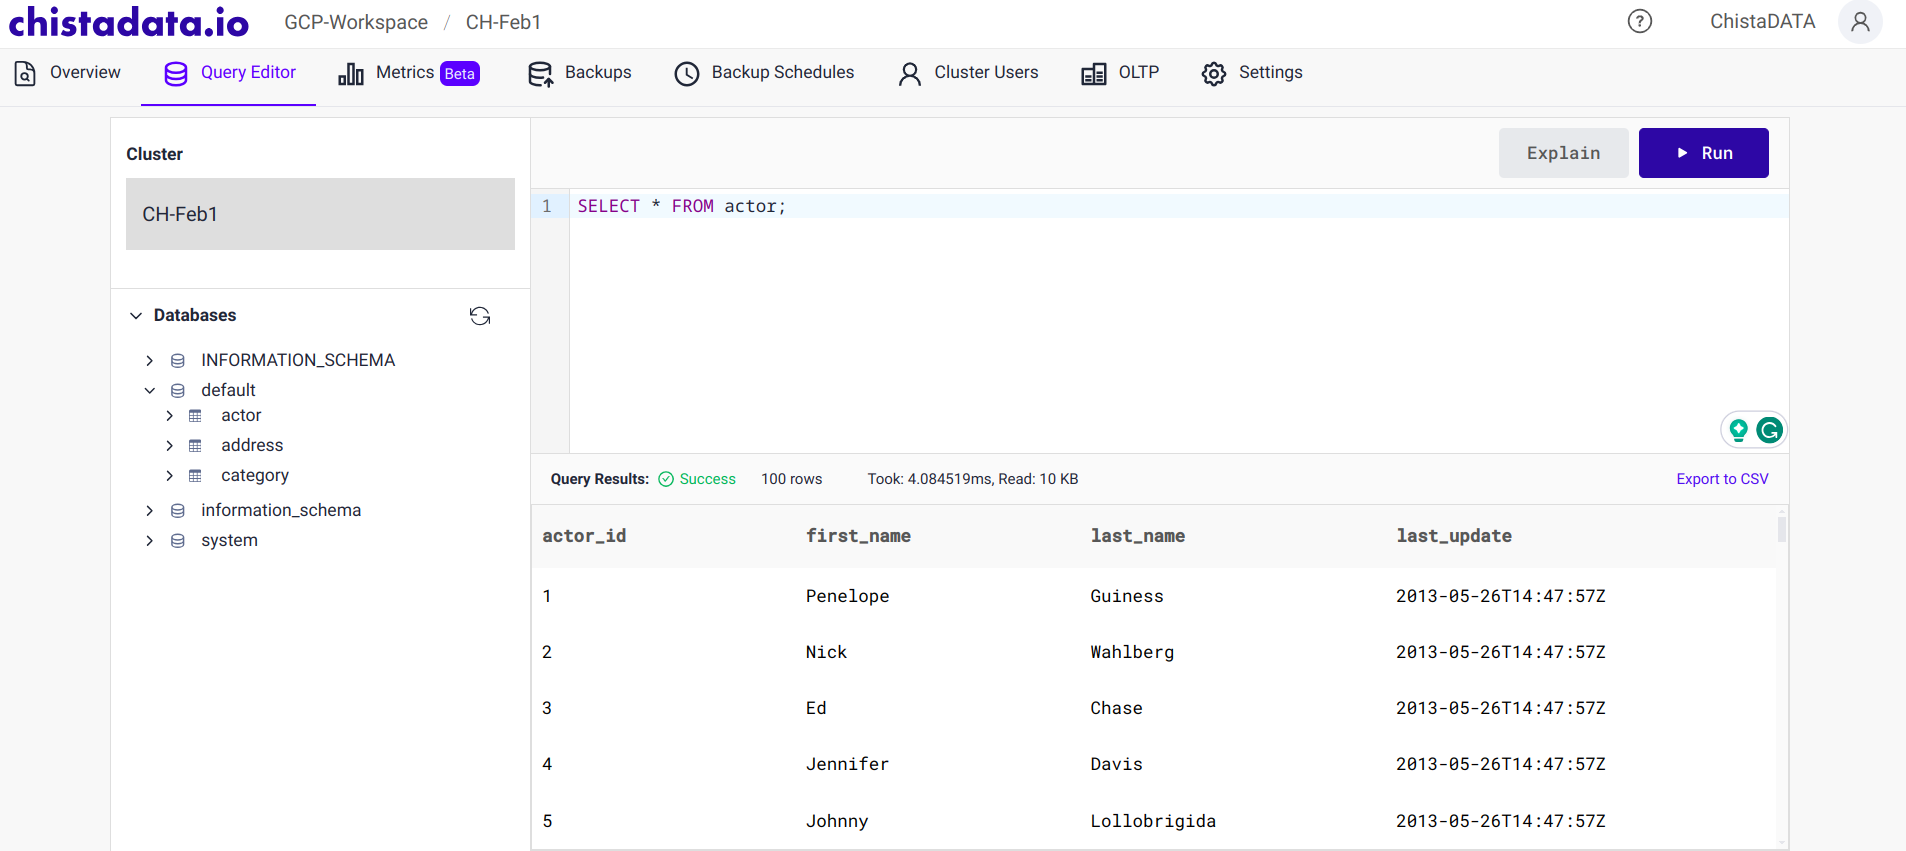
Once the jobs are in Ready status, we can go to the query editor and verify if the tables are created in the database chosen.
We can query the tables and see the data that was present in the original table is available in the sink table.


